To learn how to add Manually Loans in the Payroll processing, please follow the procedures outlined below.
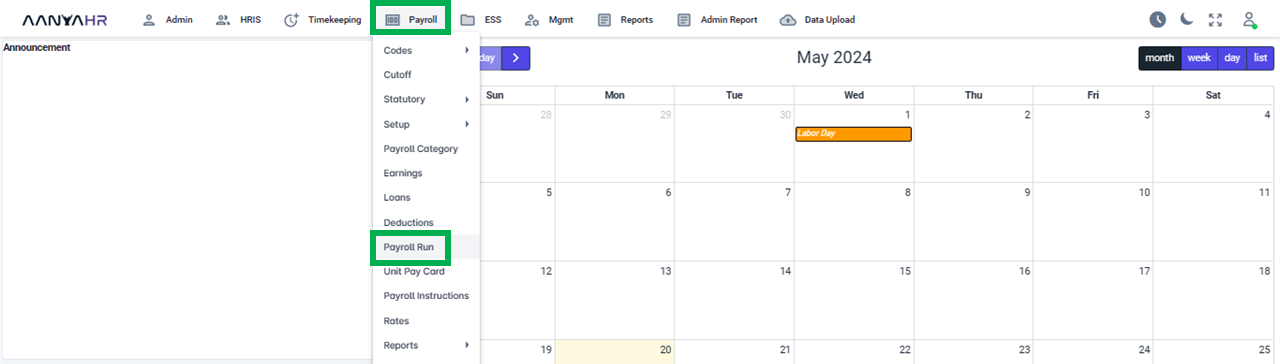
Click Payroll and select Payroll Run
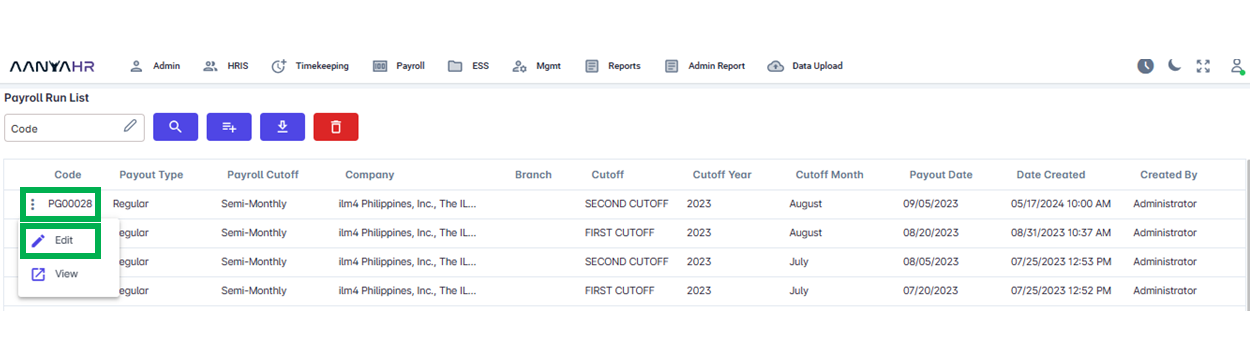
Once the specific Payroll Run is selected, click the ellipsis icon (3 vertical dots) and select Edit
Navigate to the Loans module and choose a specific option from the dropdown menu within the Transaction section.
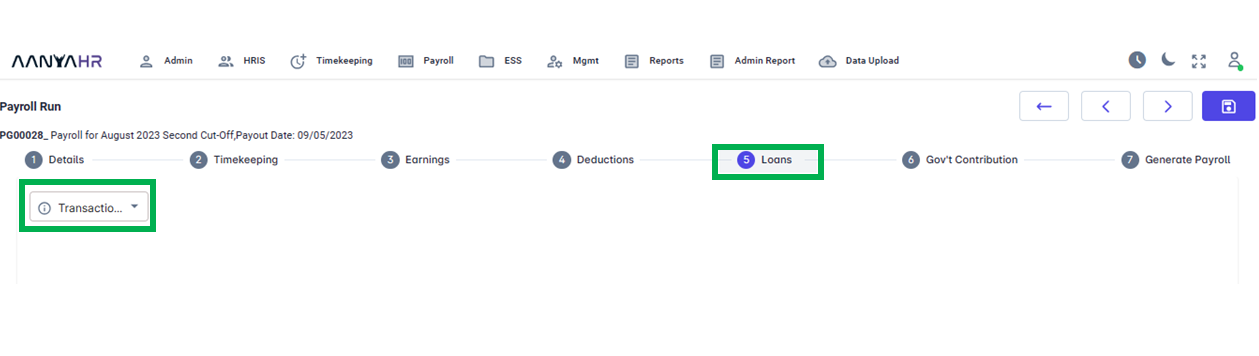
In the Transaction dropdown, select Manual.

For guidance to the highlighted details mentioned above, you can refer to the meaning or functions associated with tagging.
Employee Name - includes a list of employees.
Employee Code - Employee Identification in the system.
Loan Type - Includes the list of Loan pay codes
Loan Number - is a unique identifier assigned to a loan by a lender. It helps track the loan’s progress and facilitates payments. As needed.
Granted Date - the date on which the loan was approved
Starting Date - the date corresponding to the start of the deduction.
Maturity Date - This refers to the scheduled date when a loan reaches its full term and the remaining principal balance is due to be paid.
Tenure - tenure often refers to the period during which an employee is held in a permanent position.
Loan amount - This is the total sum of the particular loan including any interest charges. However, certain loans, such as those from a company, may not accrue any interest, thus the principal amount remains unchanged.
Principal Amount - This term denotes the initial amount of money that is lent out in a loan.
Previous Payment - generally refers to any payment that has been made prior to the current one in a series of payments.
Payroll Type - this may be either
Regular
Final
Special
Maternity
13th Month
Amortization Frequency - this may be either
Every Cut-Off
First Cutoff
Second Cutoff
Week 1
Week 2
Week 3
Week 4
Week 5
Amortization Amount - refers to the portion of each payment in an amortization schedule that is applied towards the principal balance of a loan, as well as the interest accrued.
Promissory Note - written promise by one party (the maker or issuer) to pay a specific sum of money to another party (the payee) either on demand or at a specified future date.
Remarks - typically refer to notes or comments; a comment/s related to the added details.
Status- this may be either
Open
Pause
Close
Kindly fill in the required details manually, as depicted in the following screenshot, according to the specific data mentioned above.
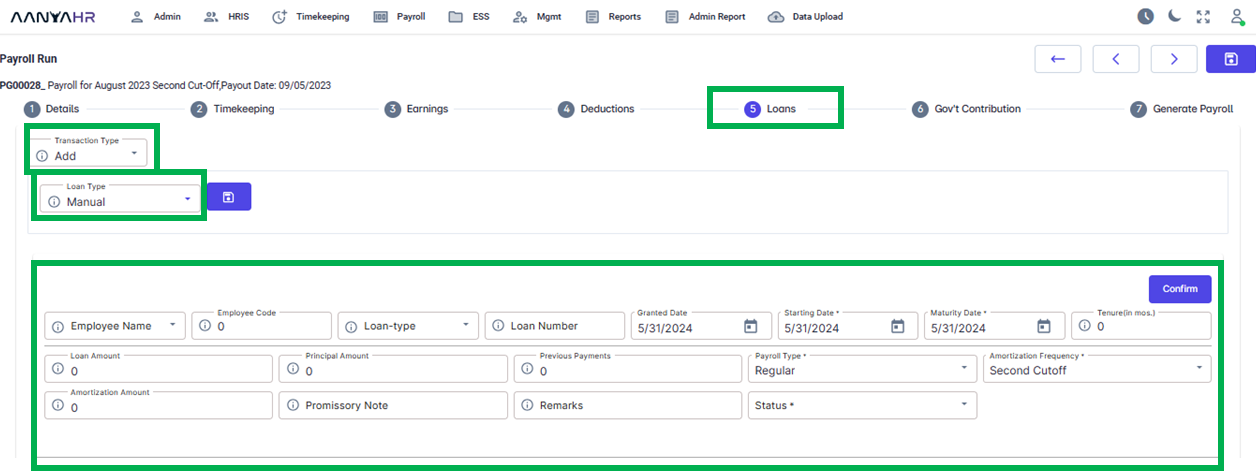
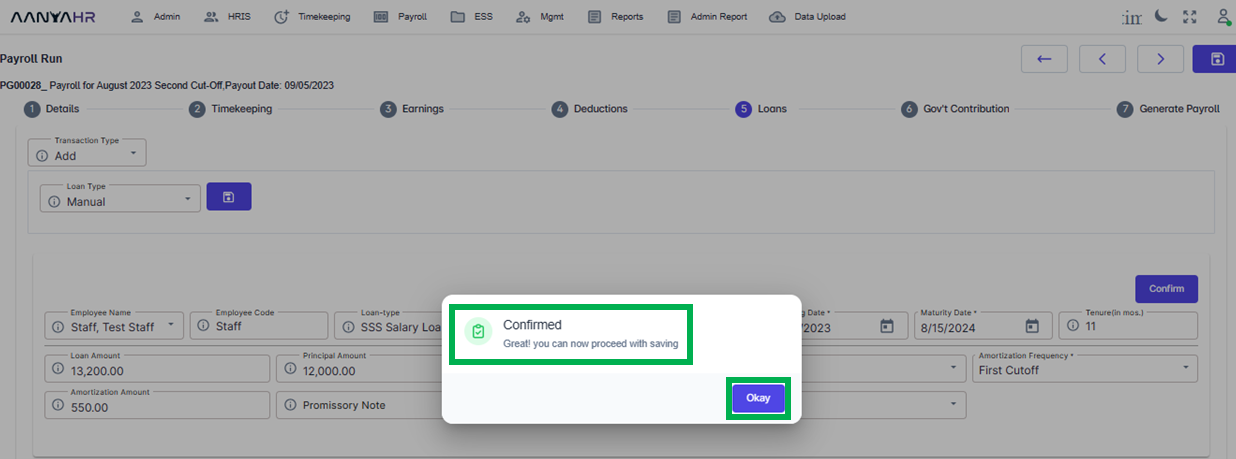
After filling out the necessary information, please press the Confirm button to store the data.
Once clicking the Confirm button, a Confirmation notification will appear. Click Okay.
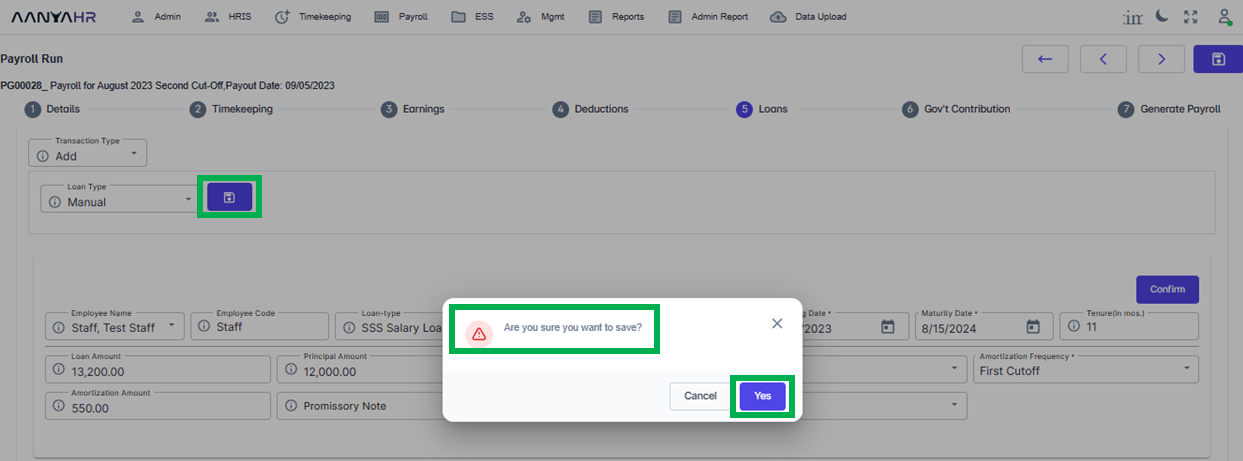
Subsequently, you should click the Save button to store the details you’ve provided. When prompted with a notification to confirm your action, select Yes.
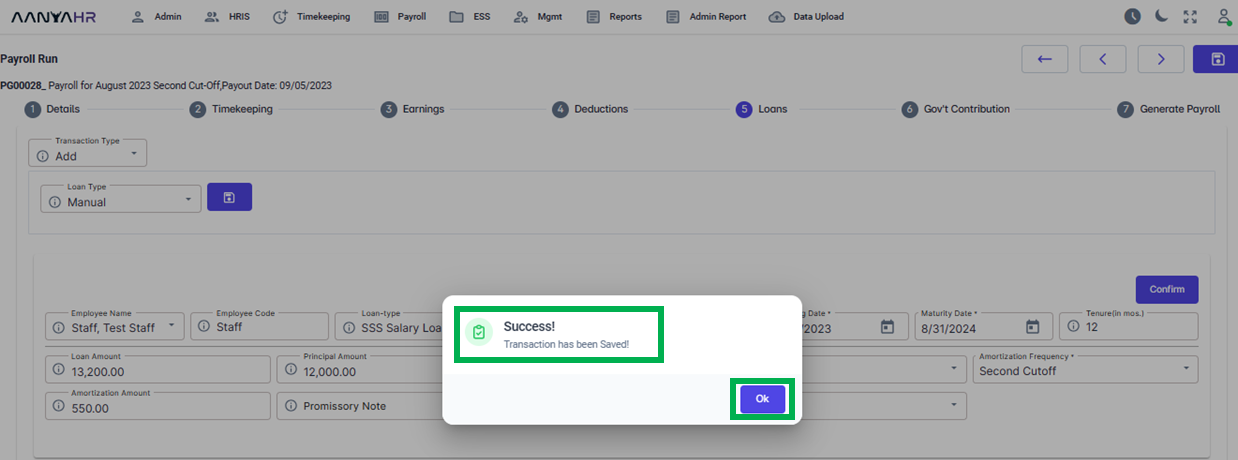
After choosing Yes, a notification indicating that the transaction has been successfully saved will pop up. Click OK to continue.
Go back to:
