Go to AanyaHR and login your account
Go to ESS menu
Select Fillings module
4. Click Create button, to add a new filling.

Select Leaves as Filling type and choose Shift Type
Regular Shift- Standard schedule (Straight 8 hrs)
6.The Portal will show all the Leave information such as the following.
Leave Type- All kind of entitled leave
Total Leave- Earned total leave
Carry Forward- total unused leave from the last year
Carry Forward Expiration Date- Expiration date of Carry Forward Leave
Expired Carry forward- All Leave balance that expired due to expiration date of carry forward.
Used Leave- All the used and approved leave
Pending Approval- All submitted leave the requesting for approval
Pending Schedule- Leave that filled in advance even without schedule
Available- Outstanding Leave Balance

7. Select the Leave Type, modify the date range to Date from and Date To module, choose the Leave filling type, input the reason at the reason module and upload a file, if any.

Click the ADD button
9. Then Click SAVE to save all the inputted data.

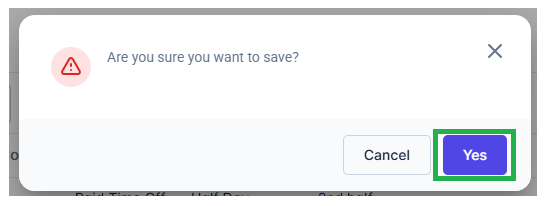
10.A pop-up window will show, asking for your confirmation. Click YES to proceed.
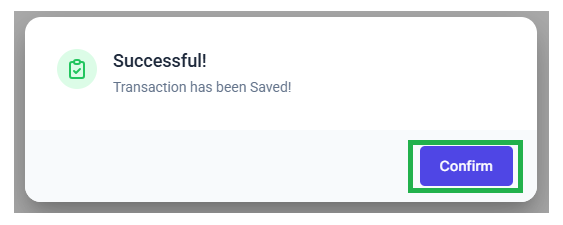
11.The portal will confirm you that the transaction has been Saved, Click CONFIRM.
12. If you want to edit or modify your filling, kindly follow the steps 2 and 3 then Select Leave as Filling Type and Filter the date range you filed for Leave.

Then click SEARCH

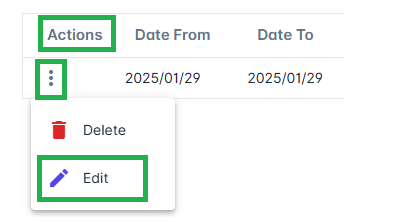
14.Click the three-dot icon and select EDIT, VIEW or CANCEL to modify your requisition.

15.You will be now redirected to Leave filling, to change your requisition click ACTION icon and Select EDIT
16.Apply the correct Leave Type, Date from and To and Leave Filling Type you want to file.

17.Once final, Click SAVE for apply all changes.