Define Overtime Rules: Determine the criteria for overtime, such as the number of hours worked beyond regular working hours or specific days when OT applies.
Rate Calculation: Decide on the OT rate. This can be a fixed percentage (e.g., 1.5 times the regular hourly rate) or a custom rate.
Configure Payroll Software: Access your payroll software or system. Navigate to the settings related to OT rates.
Input OT Rate: Enter the OT rate based on your organization’s policy.
Assign OT Codes: Assign specific codes or labels for OT hours (e.g., “OT1” for regular OT and “OT2” for double OT).
Apply OT Codes: When processing payroll, apply the relevant OT code to employees who worked overtime.
Verify Calculations: Double-check that the system calculates OT pay correctly based on the defined rules and rates.
Communicate with Employees: Inform employees about the OT policy, rates, and how their OT hours will be compensated.
Remember to consult your company’s HR or payroll department for any specific guidelines or variations related to OT rates
Below are the steps to set up overtime (OT) rates in AanyaHR.
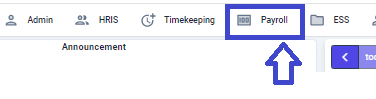
Go to the "Payroll" Tab
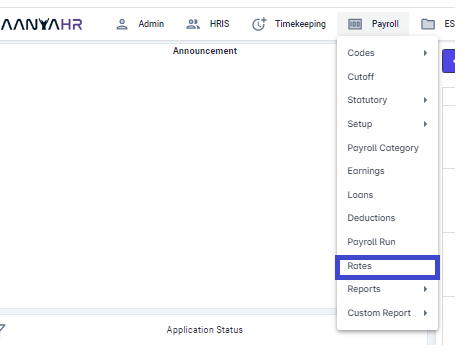
Go to "Rates."
By default, Government overtime and premium rates are already set up.
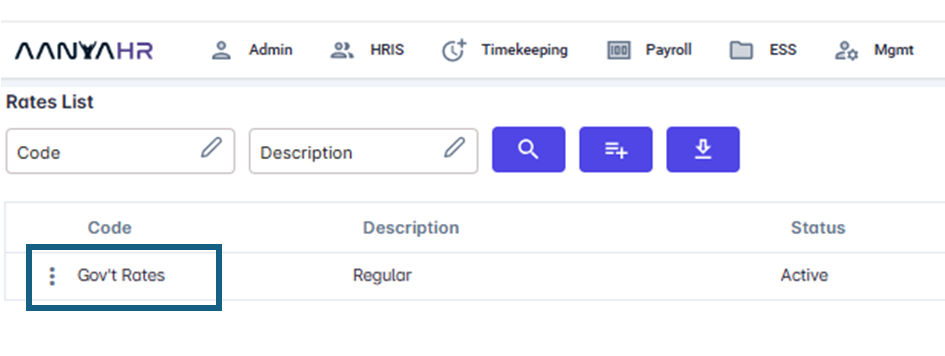
You can still create your own Rates, by clicking "Create".

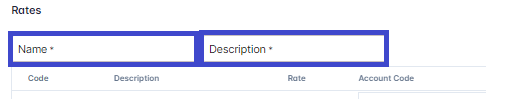
Create a unique name and description. You may opt to keep it the same
Regular work is the rate for regular days.
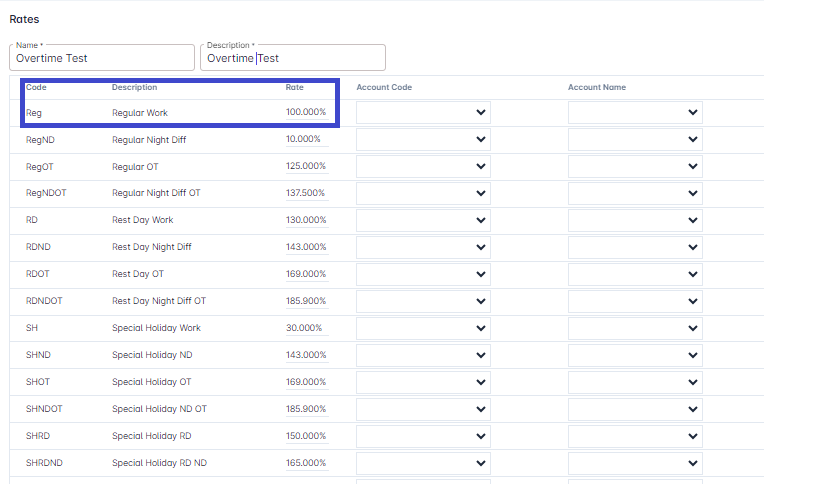
You can distinguish the overtime and night differentials from the description indicated. Those descriptions are automatic and cannot be changed or edited.
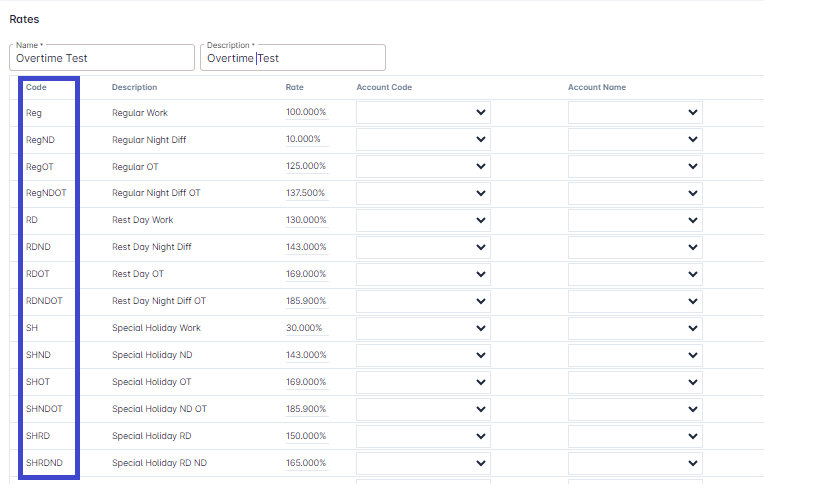
The Overtime and Night Differential Code on the left side is the code used at the payroll registers and cannot be changed or edited.
Then delete first the percentage indicated initially to be able to encode the new OT rate.

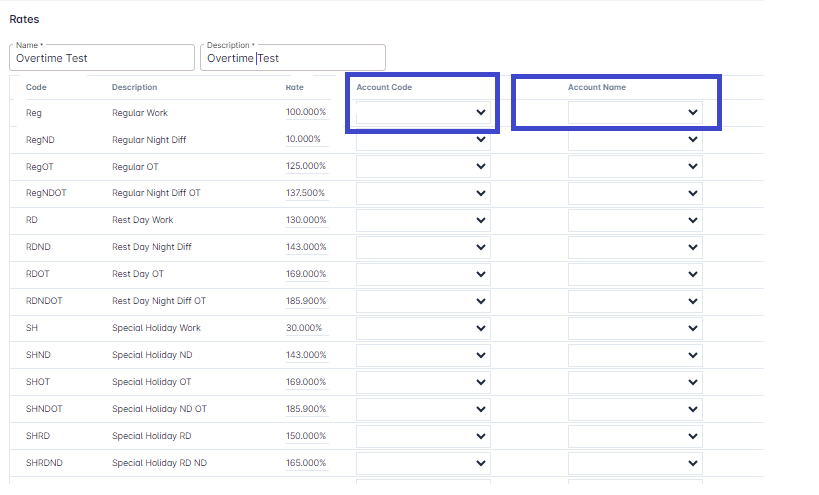
You may opt to assign an account code and account name for regular days, overtime, and night differentials for your journal entries.
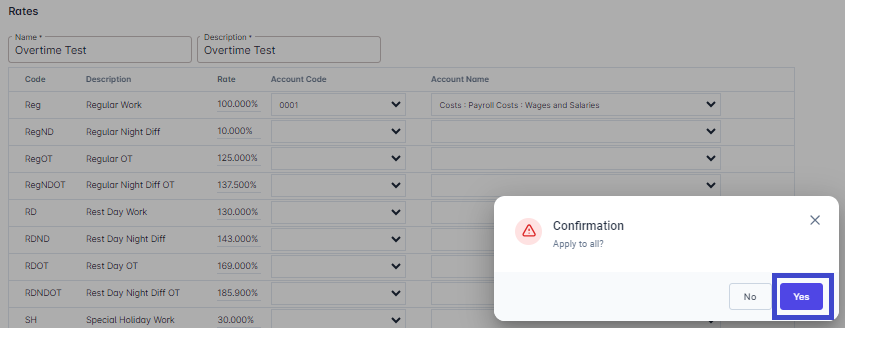
If you choose the assigned "Account Code," you may opt to assign it to all Overtime and Night Differentials.
Click "Yes" to assign it to all, and "No" if you want to assign a different account number to other overtime and night differentials.
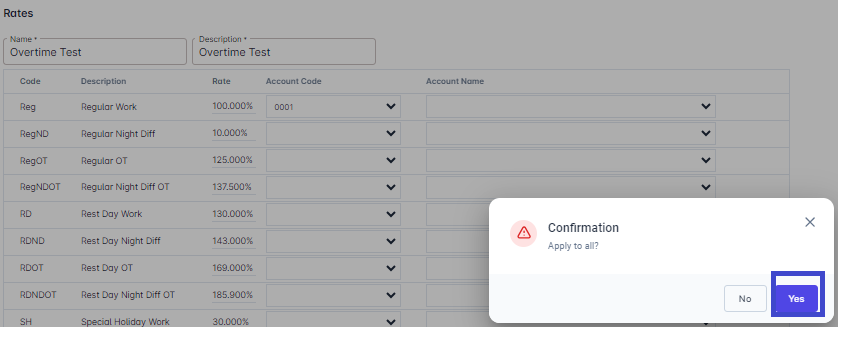
If you choose the assigned "Account Name," you may opt to assign it to all Overtime and Night Differentials. Click "Yes" to assign it to all, and "No" if you want to assign a different account name to other overtime and night differentials.
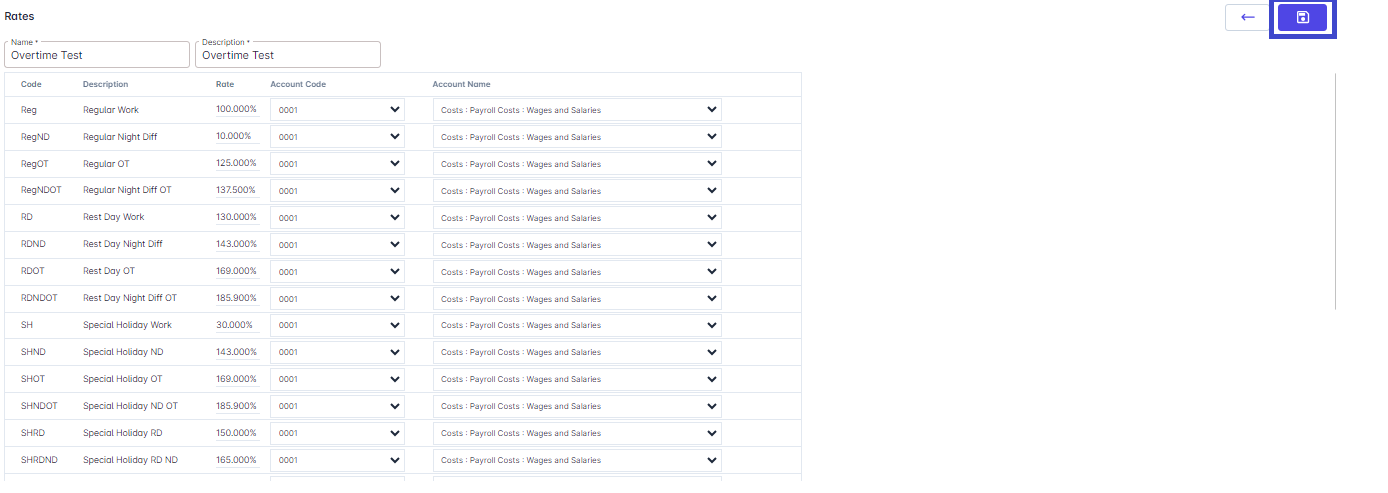
Once done, you may "Save" the file with or without the account name and account codes.
Go back to :
