Login to AanyaHR
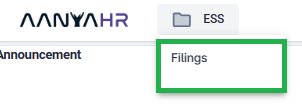
Go to ESS menu.
Select Filings module.
Click Create button, to add a new requisition.


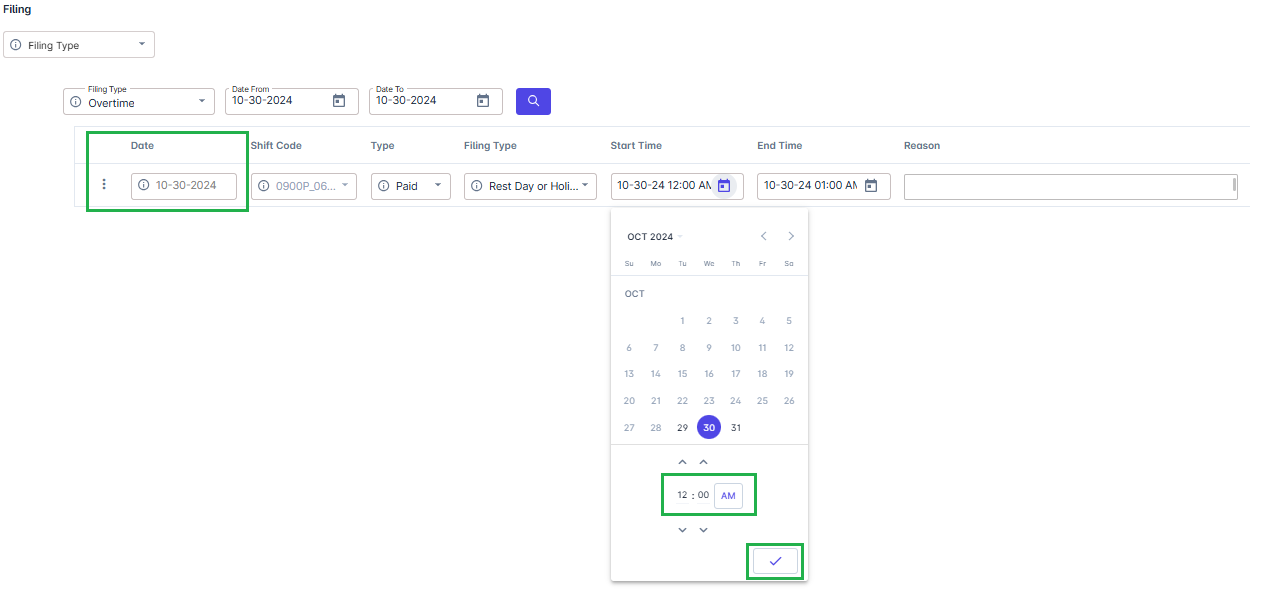
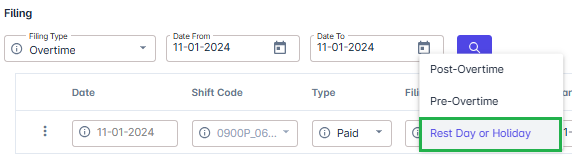
1. Select the Filing Date: Choose the date you need to file for and click Search (e.g., October 30).

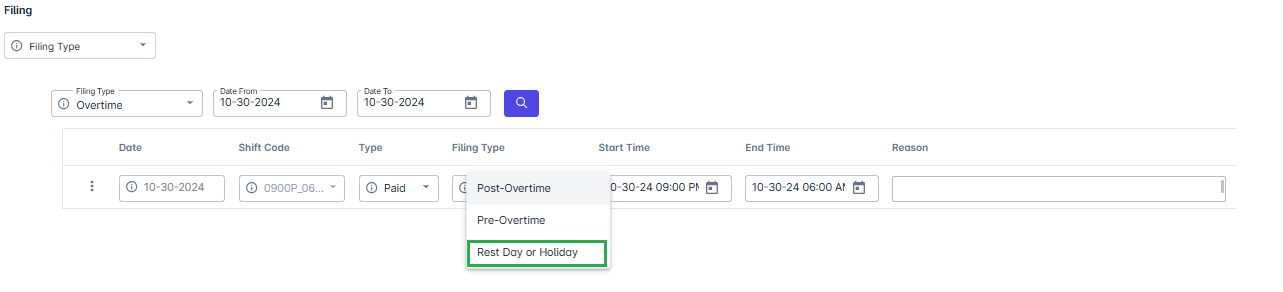
Choose Type: Set the Type of filing, such as Paid.

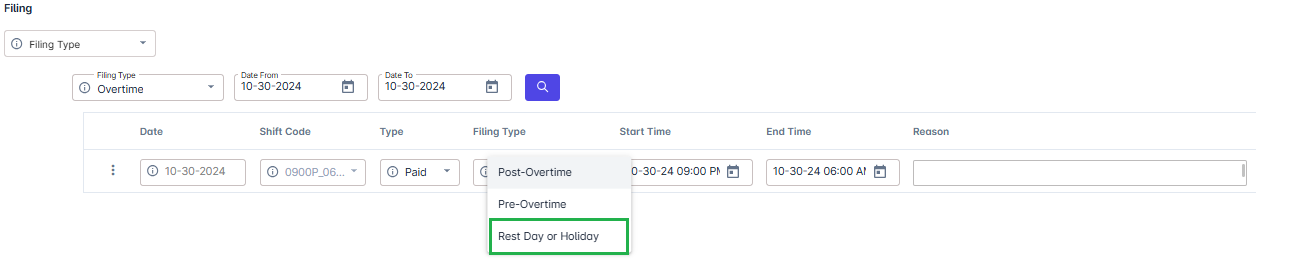
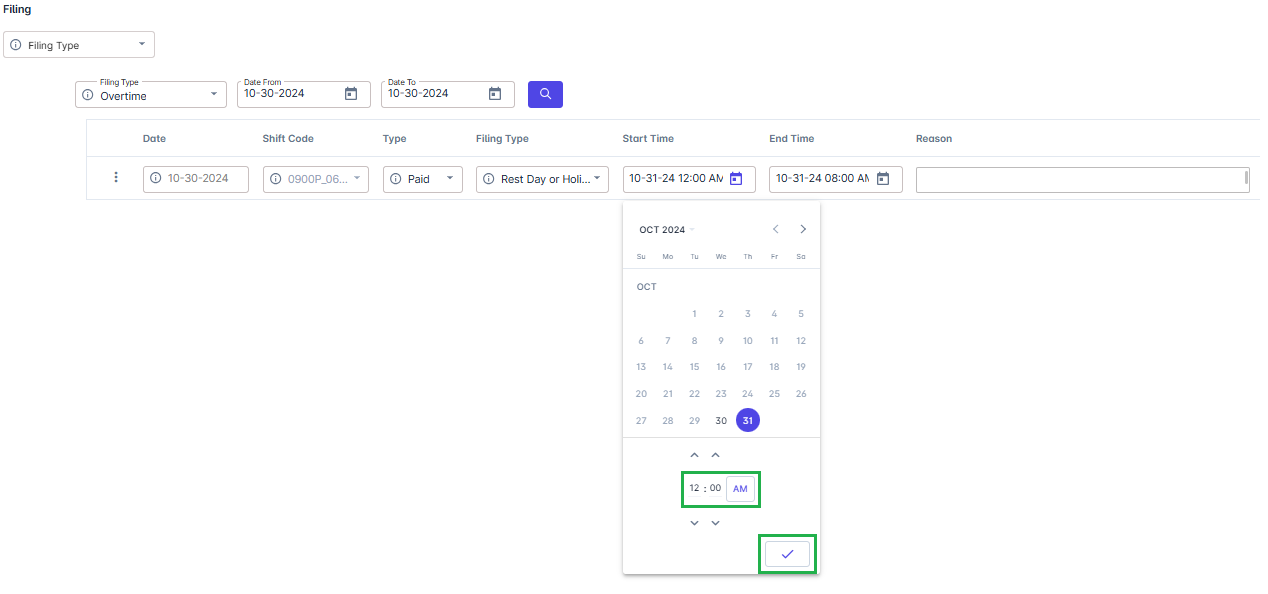
Select Filing Type: Choose Rest Day or Holiday as the Filing Type.
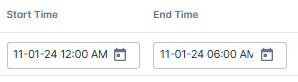
Enter Start Time: Input the start time as 12:00 AM for the next day
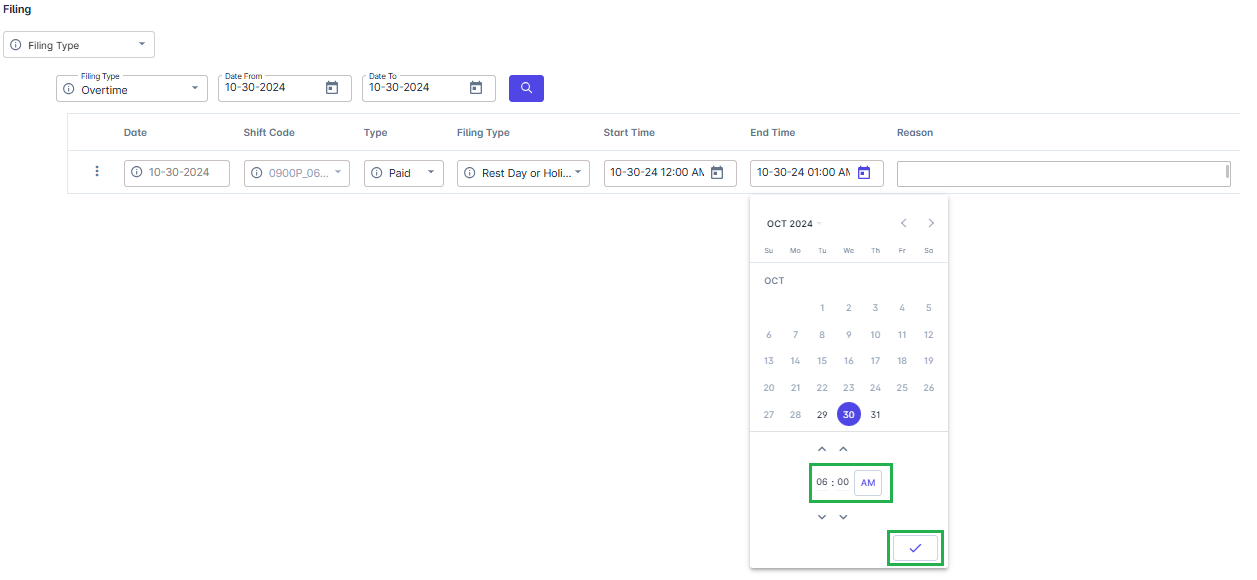
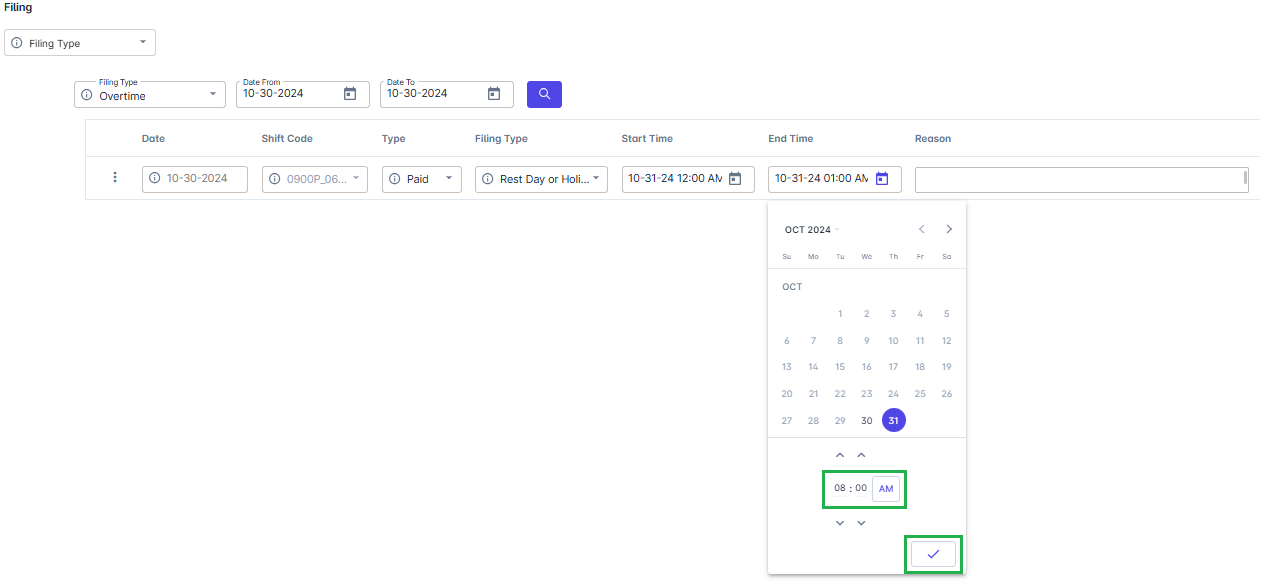
Enter End Time: Input the end time based on your scheduled finish, such as 06:00 AM.
Add a Reason: Provide the reason for filing holiday overtime.

Save Changes: Click Save Changes to submit the entry for approval by your approver.

Select the Filing Date: Choose the date you need to file for and click Search (e.g., October 30).
Choose Type: Set the Type of filing, such as Paid.
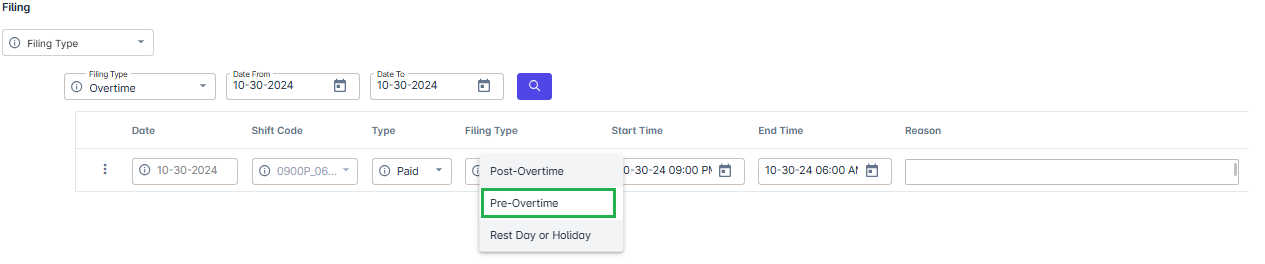
Select Filing Type: Choose Pre-Overtime as the Filing Type.
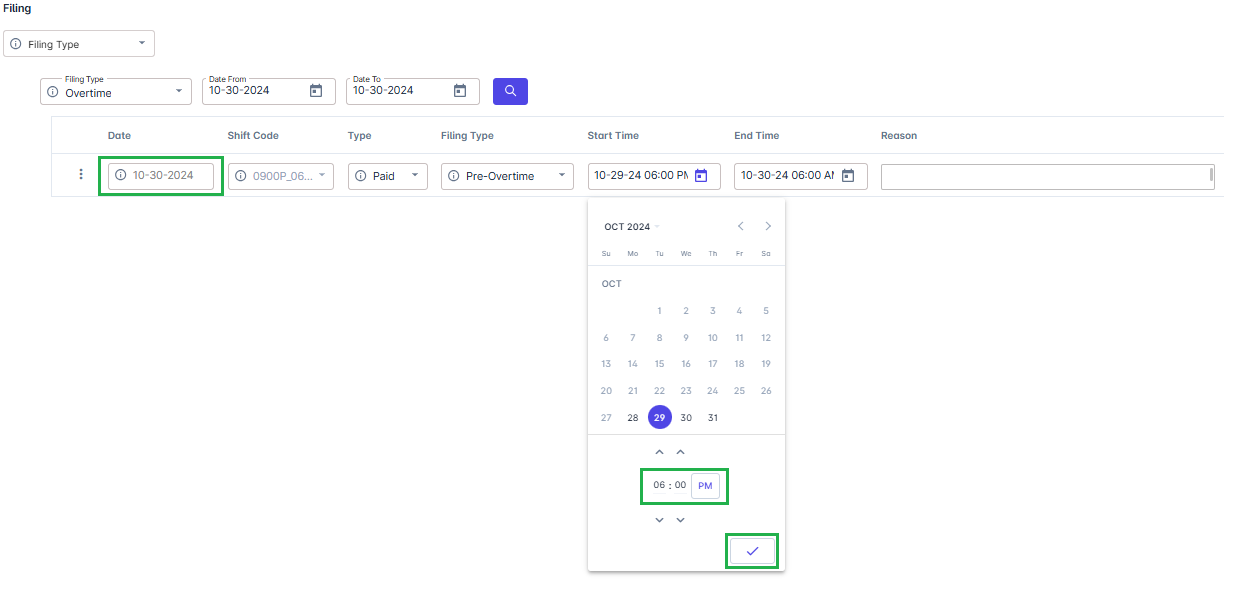
Enter Overtime Start Time: Input your Overtime Start time (e.g., 6:00 PM).
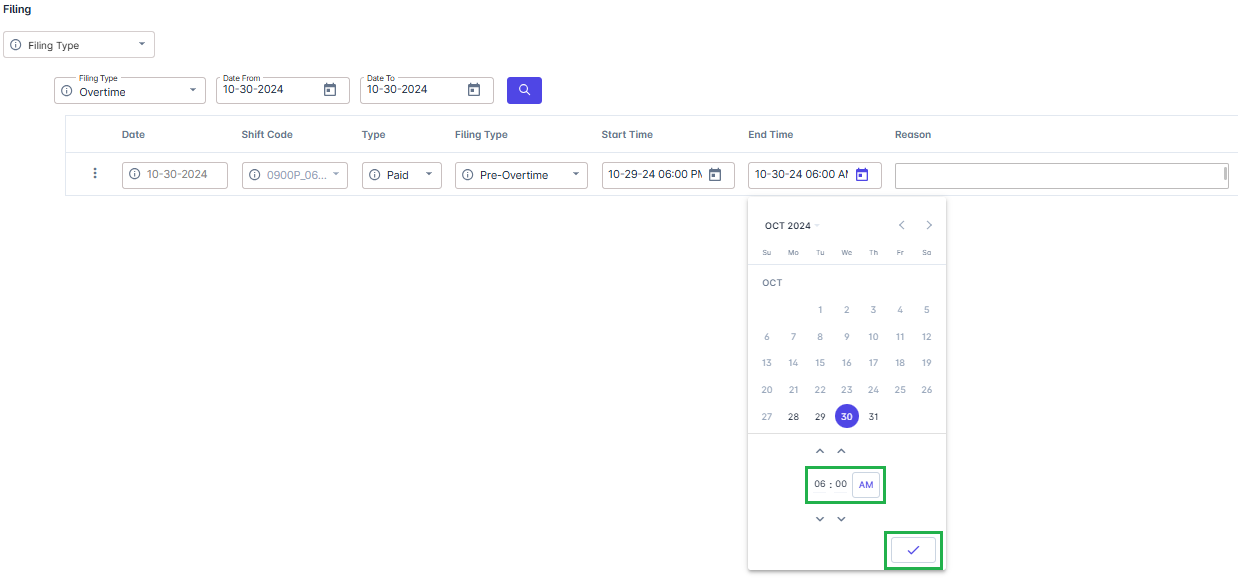
Enter End Time: Input the end time based on your scheduled finish, such as 06:00 AM.
Add a Reason: Provide the reason for filing holiday overtime.

Save Changes: Click Save Changes to submit the entry for approval by your approver.

Select the Filing Date: Choose the date you need to file for and click Search (e.g., October 30).
Choose Type: Set the Type of filing, such as Paid.
Select Filing Type: Choose Rest Day or Holiday as the Filing Type.
Enter Start Time: Input the start time as 12:00 AM for the next day.
Enter Overtime Start Time: Input your Overtime End time (e.g., 8:00 AM).
Add a Reason: Provide the reason for filing holiday overtime.

Save Changes: Click Save Changes to submit the entry for approval by your approver.

Select the Filing Date: Choose the date you need to file for and click Search (e.g., Nov 2).

Choose Type: Set the Type of filing, such as Paid.

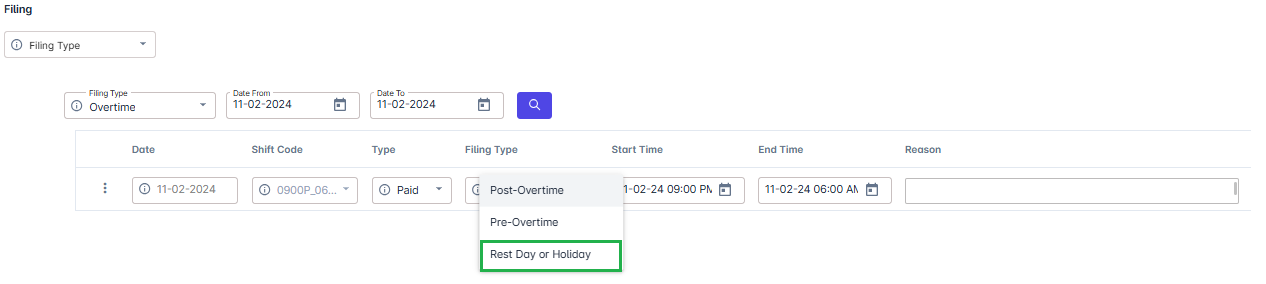
Select "Holiday or Rest Day" as the Filling type.
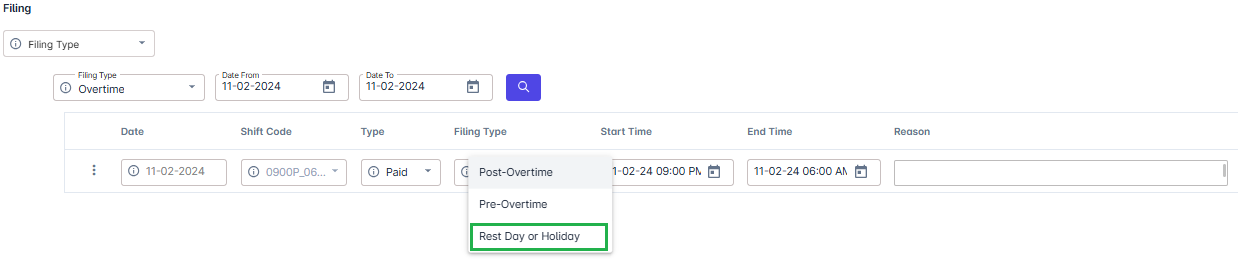
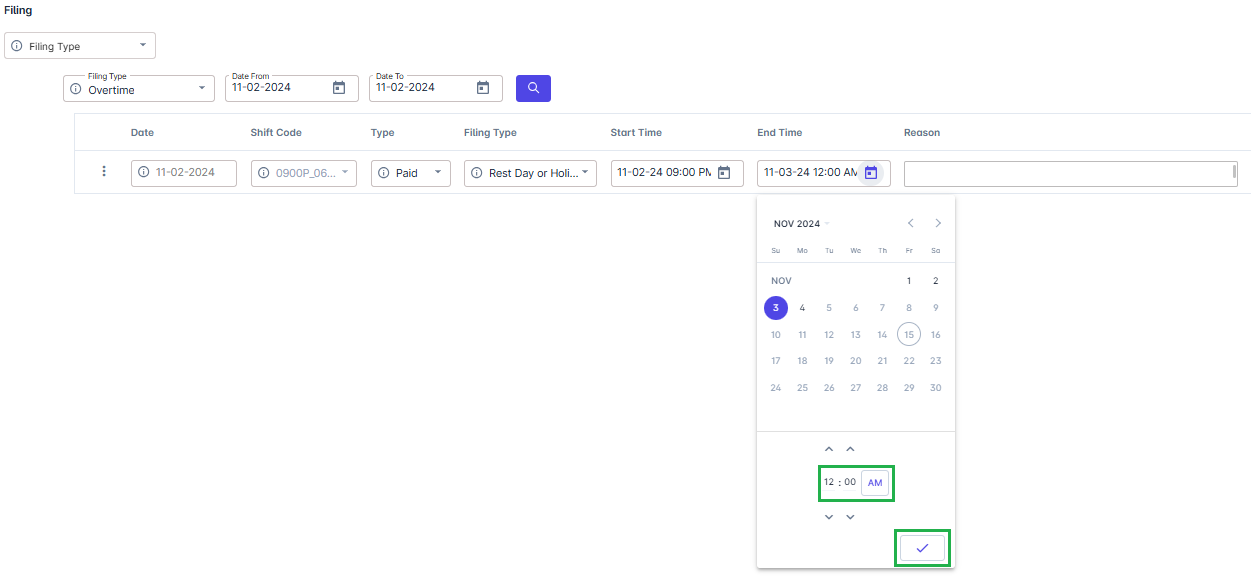
Enter Start Time: Input the IN time according to your scheduled start, such as 9:00 PM
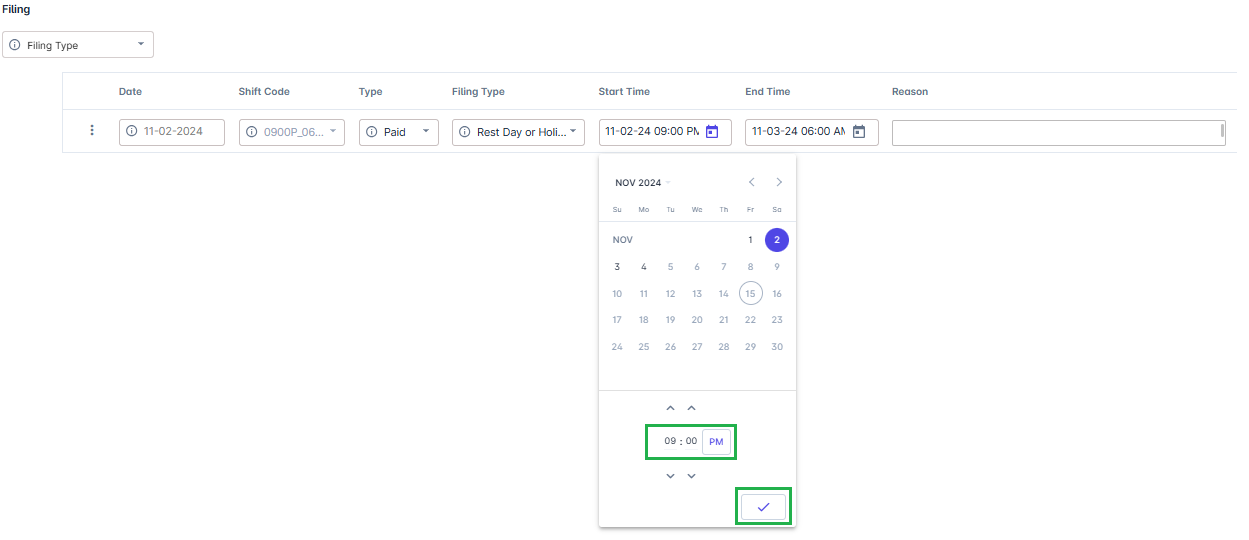
Enter End Time: Input the end time as 12:00 AM for the next day (e.g. November 3, 12:00 AM)
Add a Reason: Provide the reason for filing holiday overtime.

Save Changes: Click Save Changes to submit the entry for approval by your approver.

Select the Filing Date: Choose the date you need to file for and click Search (e.g., Nov 2).
Choose Type: Set the Type of filing, such as Paid.
Select Filing Type: Choose Rest Day or Holiday as the Filing Type
Enter Start Time: Input the start time based on your overtime start, such as 08:00 PM.
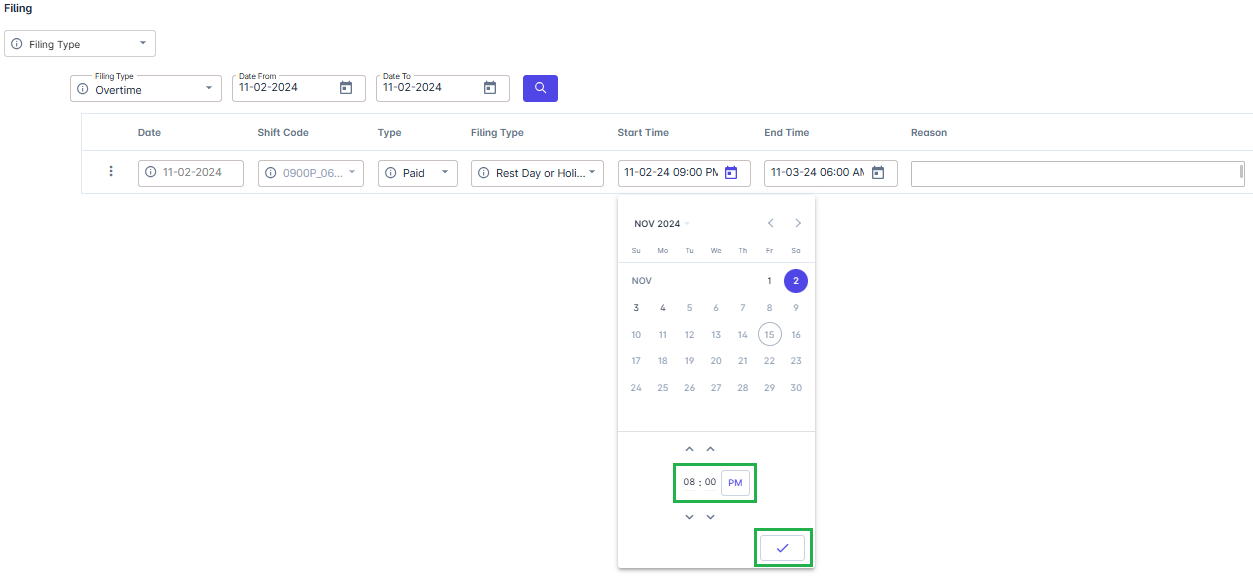
Enter End Time: Input the end time as 12:00 AM for the next day (e.g. November 3, 12:00 AM)

Add a Reason: Provide the reason for filing holiday overtime.

Save Changes: Click Save Changes to submit the entry for approval by your approver.

Select the Filing Date: Choose the date you need to file for and click Search (e.g., Nov 2).
Choose Type: Set the Type of filing, such as Paid.
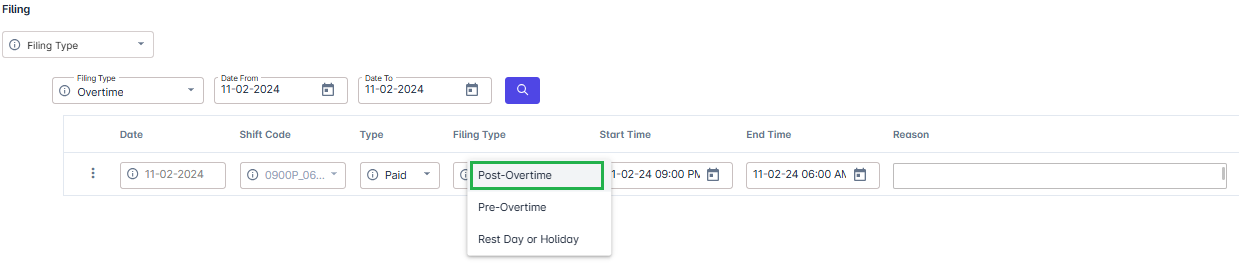
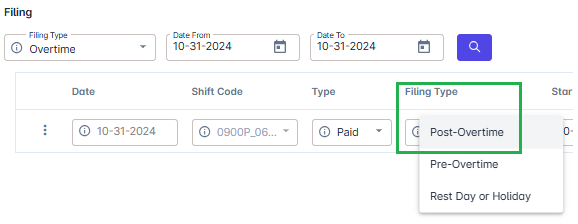
Select Filing Type: Choose Post-Overtime as the Filing Type.
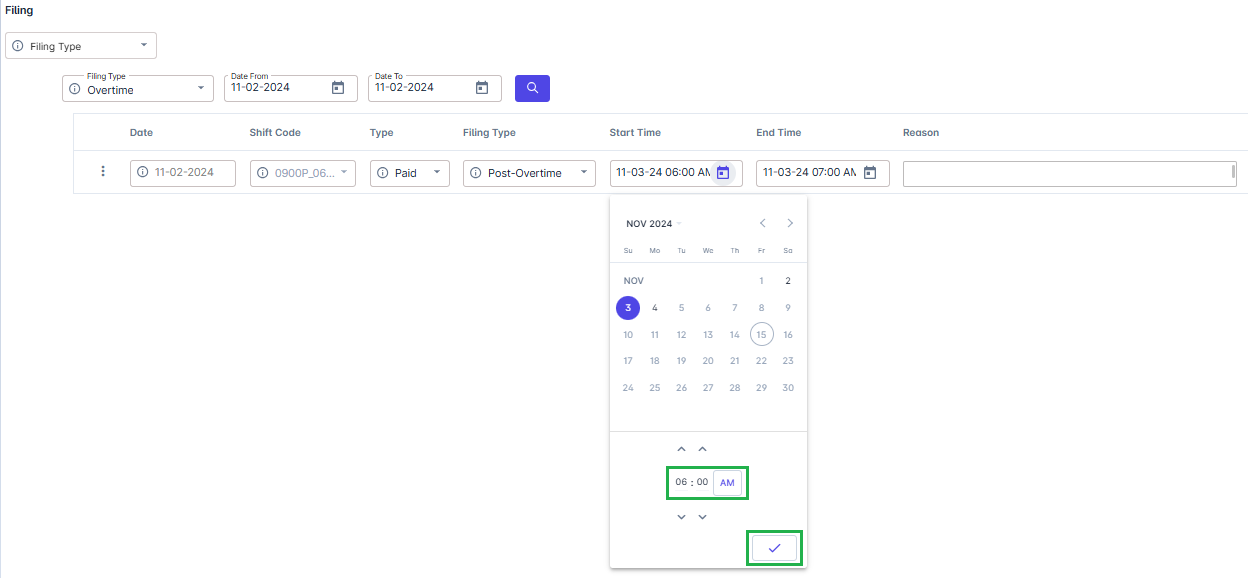
Enter Start Time: Input the overtime start for the next day (e.g. November 3, 6:00 AM)
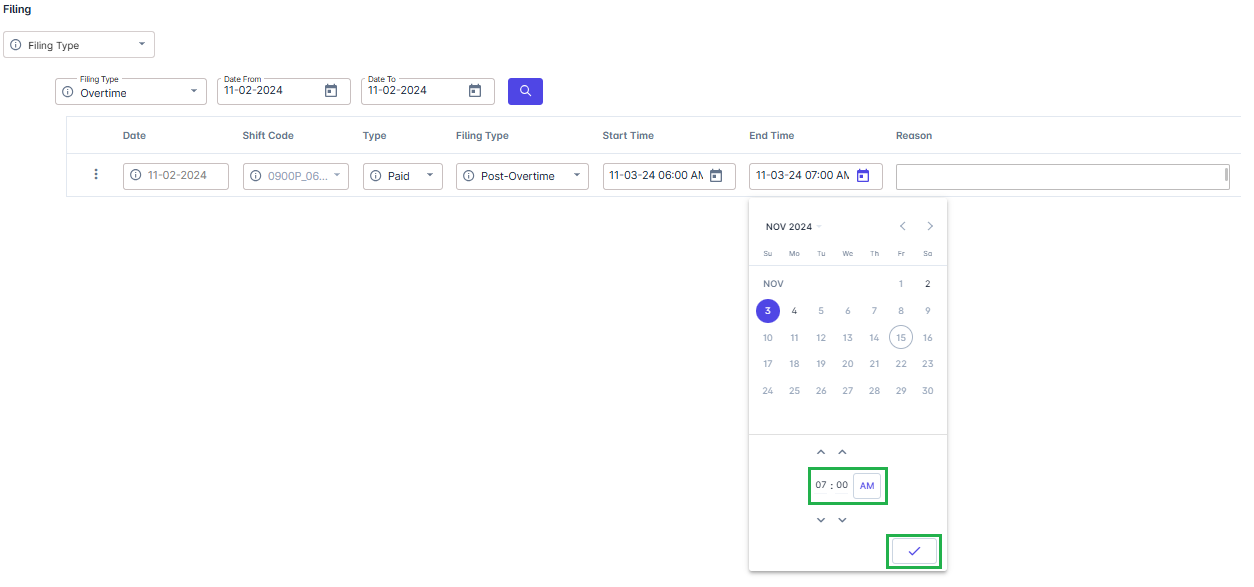
Enter End Time: Input the end time based on your overtime end, such as 07:00 AM.
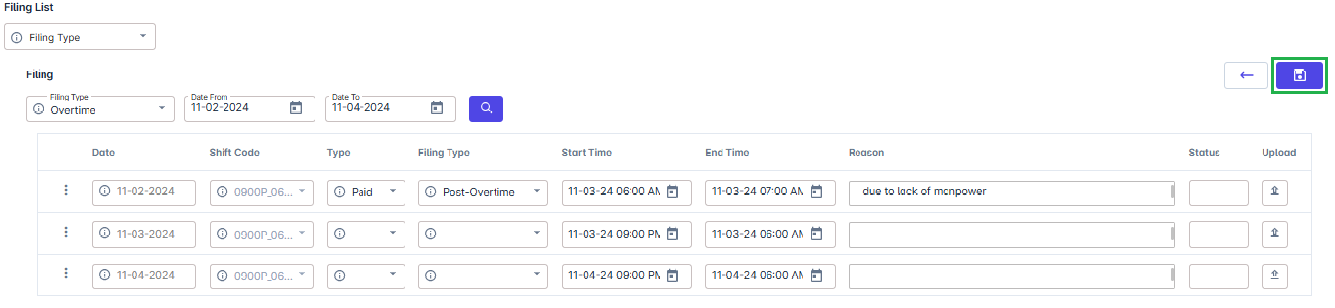
Add a Reason: Provide the reason for filing holiday overtime.

Save Changes: Click Save Changes to submit the entry for approval by your approver.
In scenarios where your overtime hours don't fall within your regular schedule, you can split the overtime into Post-Overtime and Rest Day/Holiday Overtime. For example, if your regular schedule is from 07:00 AM to 04:00 PM on Oct 31, but you worked overtime from 10:00 PM to 06:00 AM, follow these steps:
Select Filing Type: Choose Post-overtime as the Filing Type.
Enter Start and End Time for Post Overtime
Set your Start Time to the time you began your overtime (e.g., 10:00 PM).
Enter 12:00 AM as the End Time for your Post Overtime.

Add a Reason: Provide the reason for filing holiday overtime.

Create a second filing for the Rest Day/Holiday Overtime and select Holiday as your date reference.

Choose Rest Day or Holiday as the filing type for the second entry.
Set 12:00 AM as the Start Time and enter your Post Overtime as the End Time.
Add reason and click save changes

